
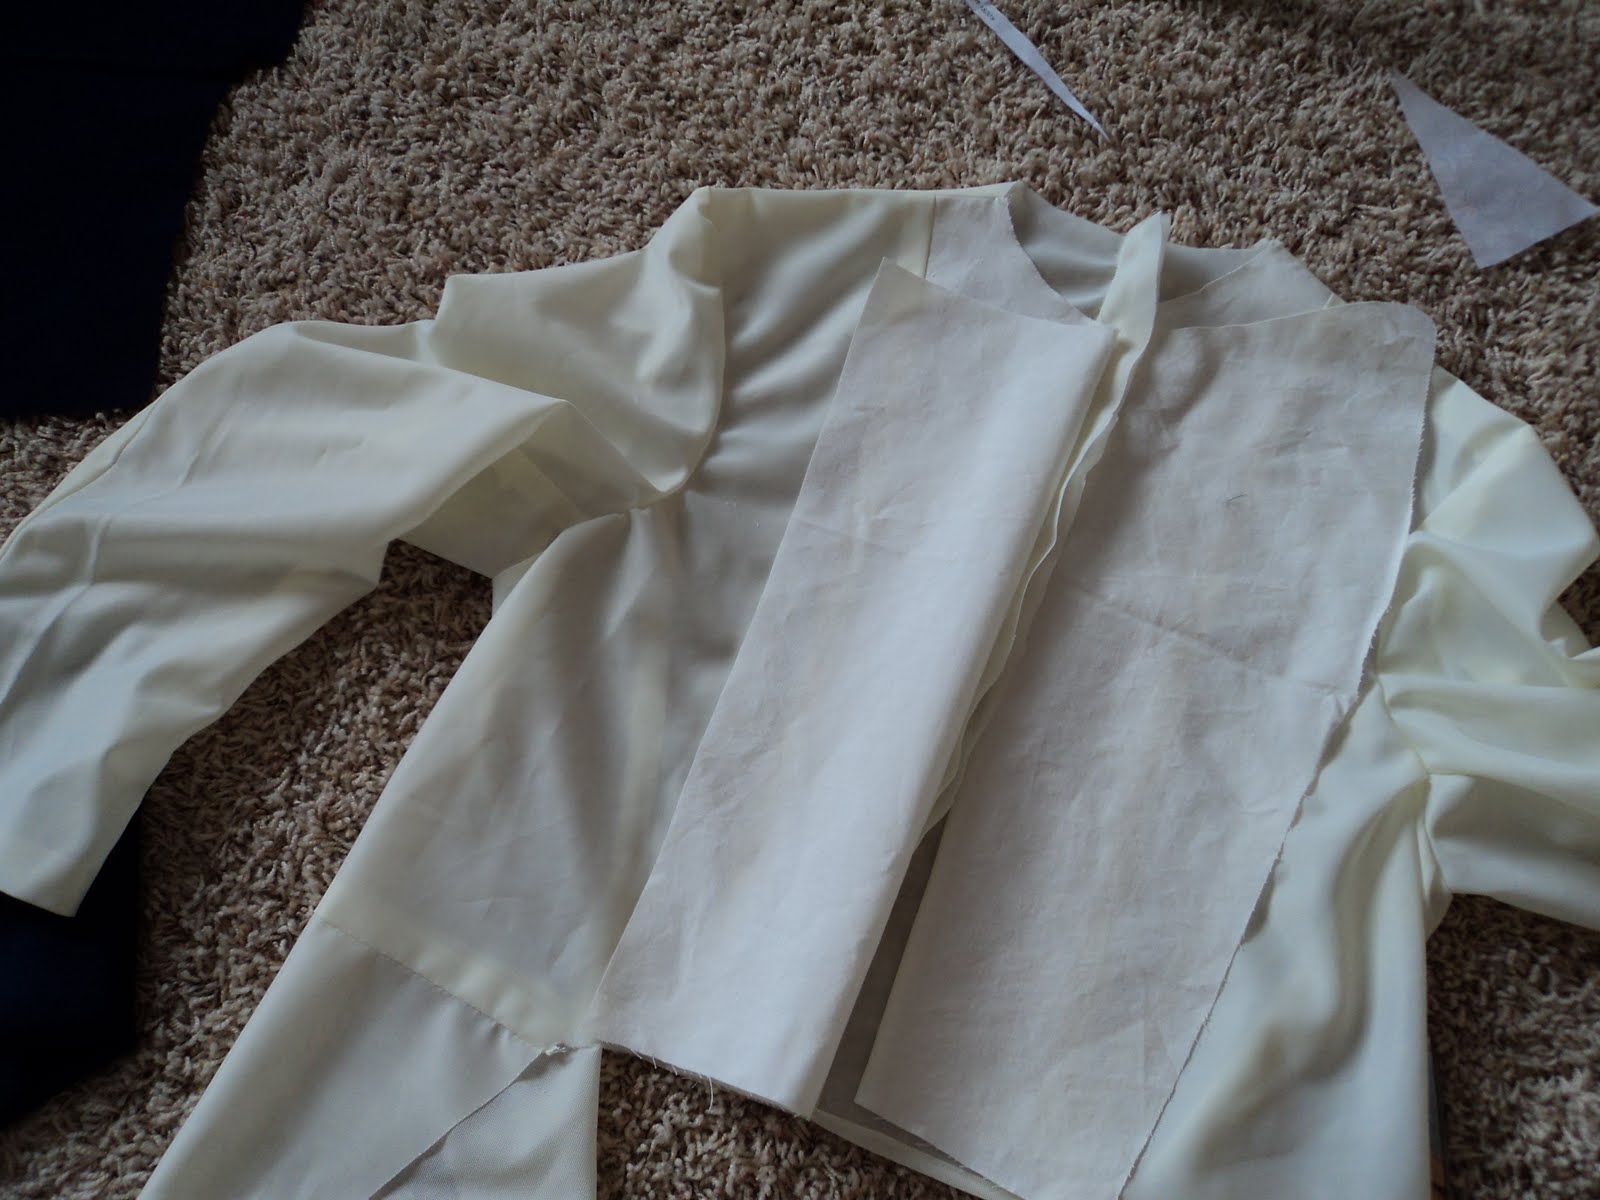
First off is a look at the lining with the sleeve attached...


Transferring dart marks is always a pain. Since this pattern is made with stiff paper, I cheated and cut out the dart mark so I could use it like a stencil. Still proud of that one...


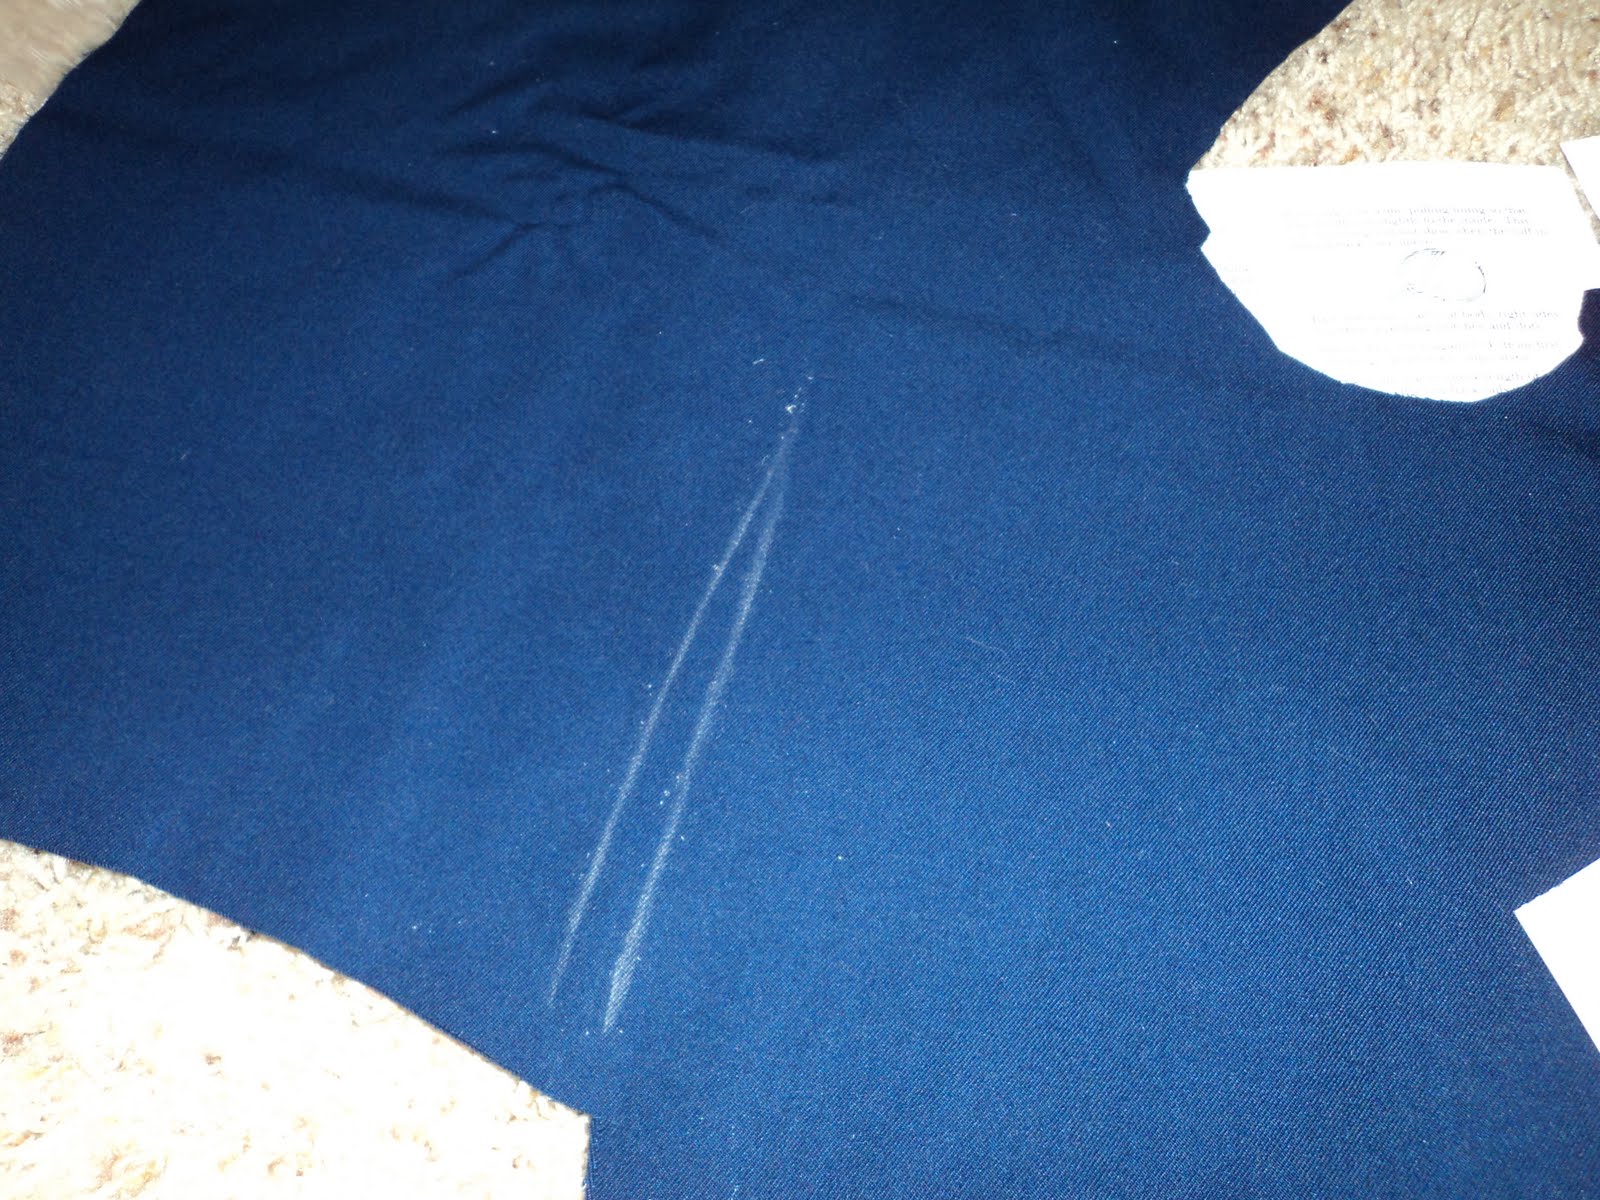
Here I had to reshape the lapels. The pattern called for the curved shape you see on the right, but my client wanted something straighter and more military, as you see on the left.
 Adding the interfacing to the blue wool.

 Adding the interfacing to the blue wool.
A look at the back.


A closer look at the join between the waist and the tails. These tails were pretty frustrating to put in because the pattern is poorly written at this point. However I was adding a split anyhow (not included in the original pattern) so I finally just scrapped the directions for this part and followed my intuition. I think it turned out pretty nice.


In the next three pictures I've put the body of the assembled wool over the lining. You can get an idea of the shape of the final coat, minus the full sleeves.
(Bear in mind, the dress form is being used as a hanging device only. It's a female dress form, so the actual coat will hang much straighter when worn by its intended user)


Sleeve time! Sleeves are hard to iron properly, so I used a hand towel to construct a poor man's sleeve board. It worked like a charm!


I then assembled the cuffs, including the pipping on the top. Below you can see the sleeve and cuff laid out as they will be in the final garment.


There will also be three buttons across the top of the sleeve... but I haven't gotten them sewn on yet, so look to see the rest of the coolness in post #4, coming later this week!
1 comment:
It is turning out nicely. I can't wait to see it when it's finished.
Post a Comment